

When Alex decided she wanted to be a blue jay for Halloween, I figured I could find some cool wings online. I looked around, but everything I found was totally overpriced.
I stumbled upon a couple of different tutorials and decided they looked easy enough to attempt. So, I combined the things I liked about each and this is how I got started.
The first thing we found was the mask. A quick search for blue jay masks tuned up all kinds of madness. Eventually I found this image of an art school project on Flickr:

It was perfect. A quick Amazon search, $10 and 3-5 business days later, we had a similar one of our very own. Ta-da!

,
Next came the wings. Knowing the base of the costume would be black tights and a black leotard, I knew the only thing we really needed was a set of cool wings. So I gathered up 3 shades of blue felt along with some white and some black. I got about a yard and a half of each blue shade and the white. Two full yards of black.
All in all I spent roughly $12 on felt thanks to a sweet fabric sale Joann's was having.
Then it was go time.
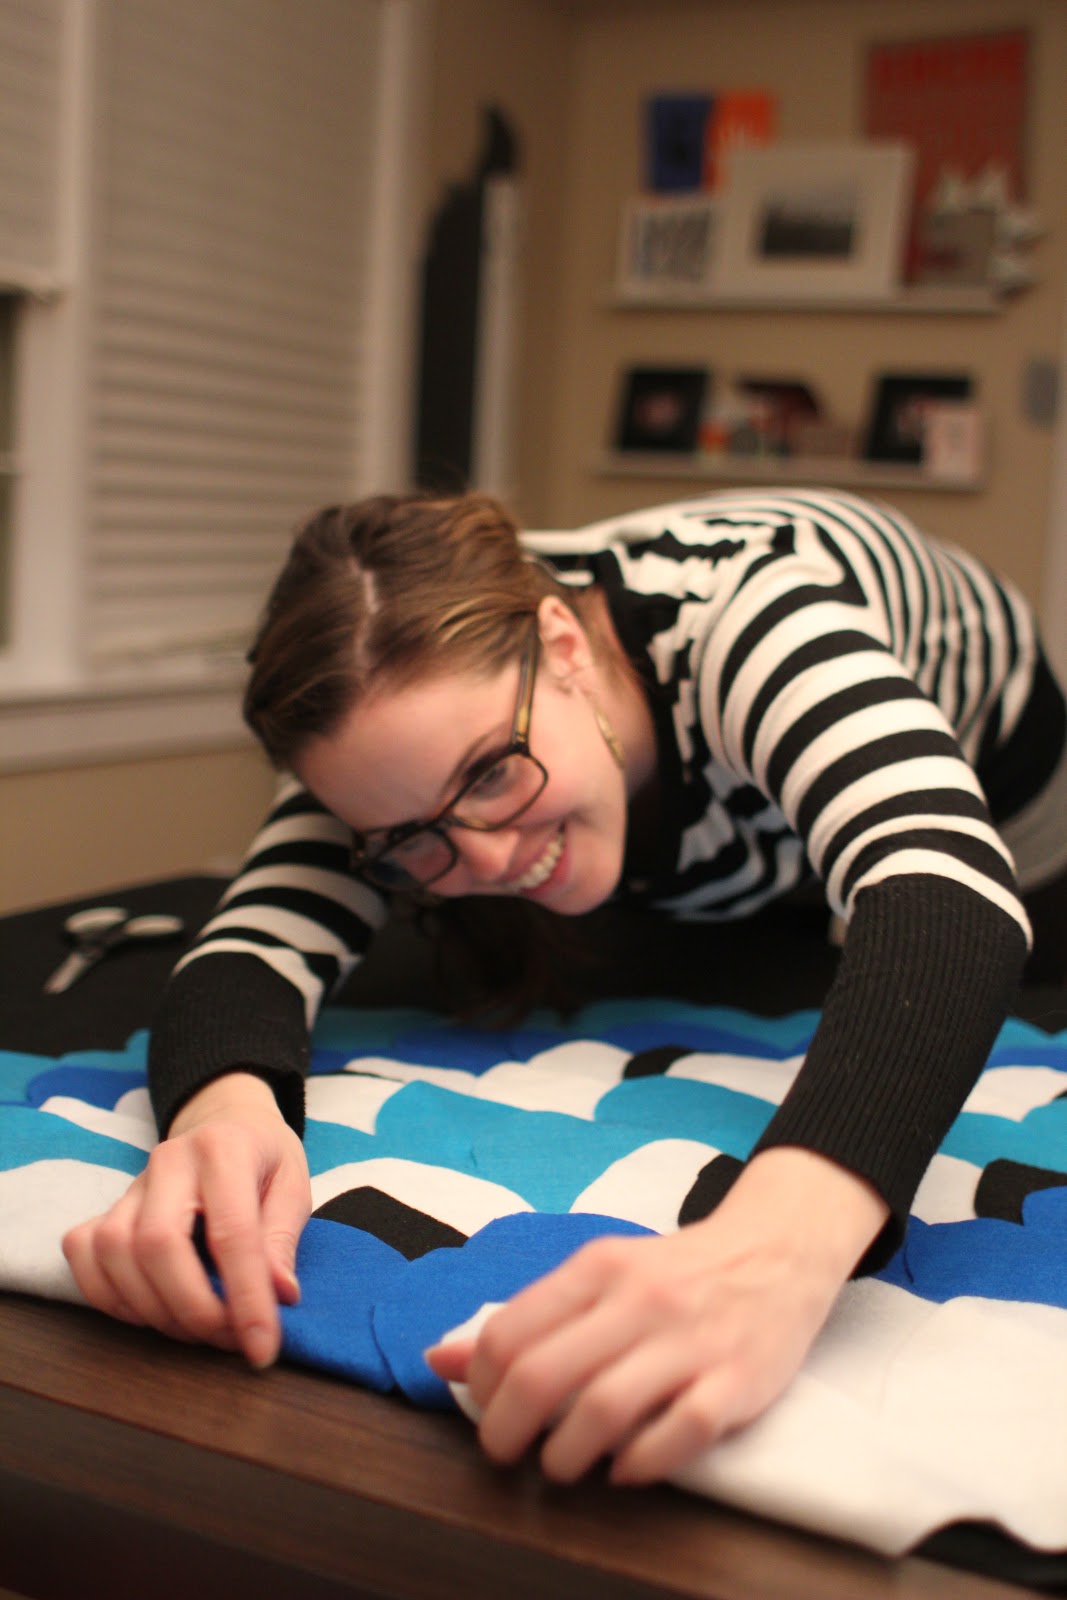
I didn't initially plan on doing a tutorial for this because I wasn't even really sure what I was doing, so your first step isn't documented. Evan was just shooting random pictures of me making a wing, but we ended up with enough to walk you through the basic assembly. So, to get started, you'll want to lay your black felt out on a table and cut a tear drop shape into the corner, like this:

The size is totally up to you. I measured one side against Alex's arm when it was extended out, to get an idea of how long they should be shoulder to wrist. You could make them shorter, and you might want to because these ended up being pretty heavy.
Now you are ready to make some feathers!
First, cut out a freehand template of 4 scallops in the first color, I started with the darkest blue.
Once you have the template made, use white chalk to trace the template onto all the other shades of blue and white.

Gather 4 sets of 4 (using the same color) and start making rows.
I laid them out on my black felt, moving towards the top corner of the base. You'll notice I had not actually cut the teardrop shape out when I first got started, it was just traced, I think you could really do it either way.
Basically, I just laid each row down then added a second row of the same color, before moving onto the next shade. Space them out so the top layer overlaps spaces in the layer beneath it.


As you get closer to the top, you won't need the rows to be quite as wide, so just cut off anything that looks too big or overlaps too much.
I'd love to say there was a particular rhyme or reason to this, but really I just laid all my pieces out and then cut off anything that looked funny.
Save these single scallops/feathers. You'll need them later.


Once you work your way to the top corner, you can add in a couple of single black scallops here and there. Don't try to make them perfect, just add them in wherever.
You'll notice I then folded all the excess fabric behind the base to see how it all would look once it was in the shape of the teardrop.


Not bad.
Using a line of hot glue at the top of each scallop row, press firmly into base:


This actually turned out to be a great idea and allowed me to move shapes around and test ideas before gluing them in place. This also made putting it all together a breeze. I was impressed with how well the glue held and really pleased that I could add pieces easily as the project evolved.
As I got closer to the top I started cutting my scallops smaller and smaller and just added pieces that I thought looked good. The beauty of this project was it kept evolving. If you see a spot that needs a scallop/feather, just throw it in using the pieces saved from earlier.
Make sure to cut everything in pairs by cutting two pieces of felt at a time so you have all the pieces you need for your second wing.
For me, once everything was laid out it only took about 15 minutes to glue it all in place and get it to look like this:


When they are both laid out, flip them over and cut off all scallops/feathers that hang over the edge of the teardrop base. In essence when looking at the back, you should have solid black teardrop with some bottom feathers hanging off.
Next, add drops of glue to all the edge pieces to ensure they stay in place.
Here, we held it up to see how it would look from the front. Look how thrilled my child was:

At this point I wasn't sure how I would actually be attaching the wings to her, so she just held them in place for the photo op.

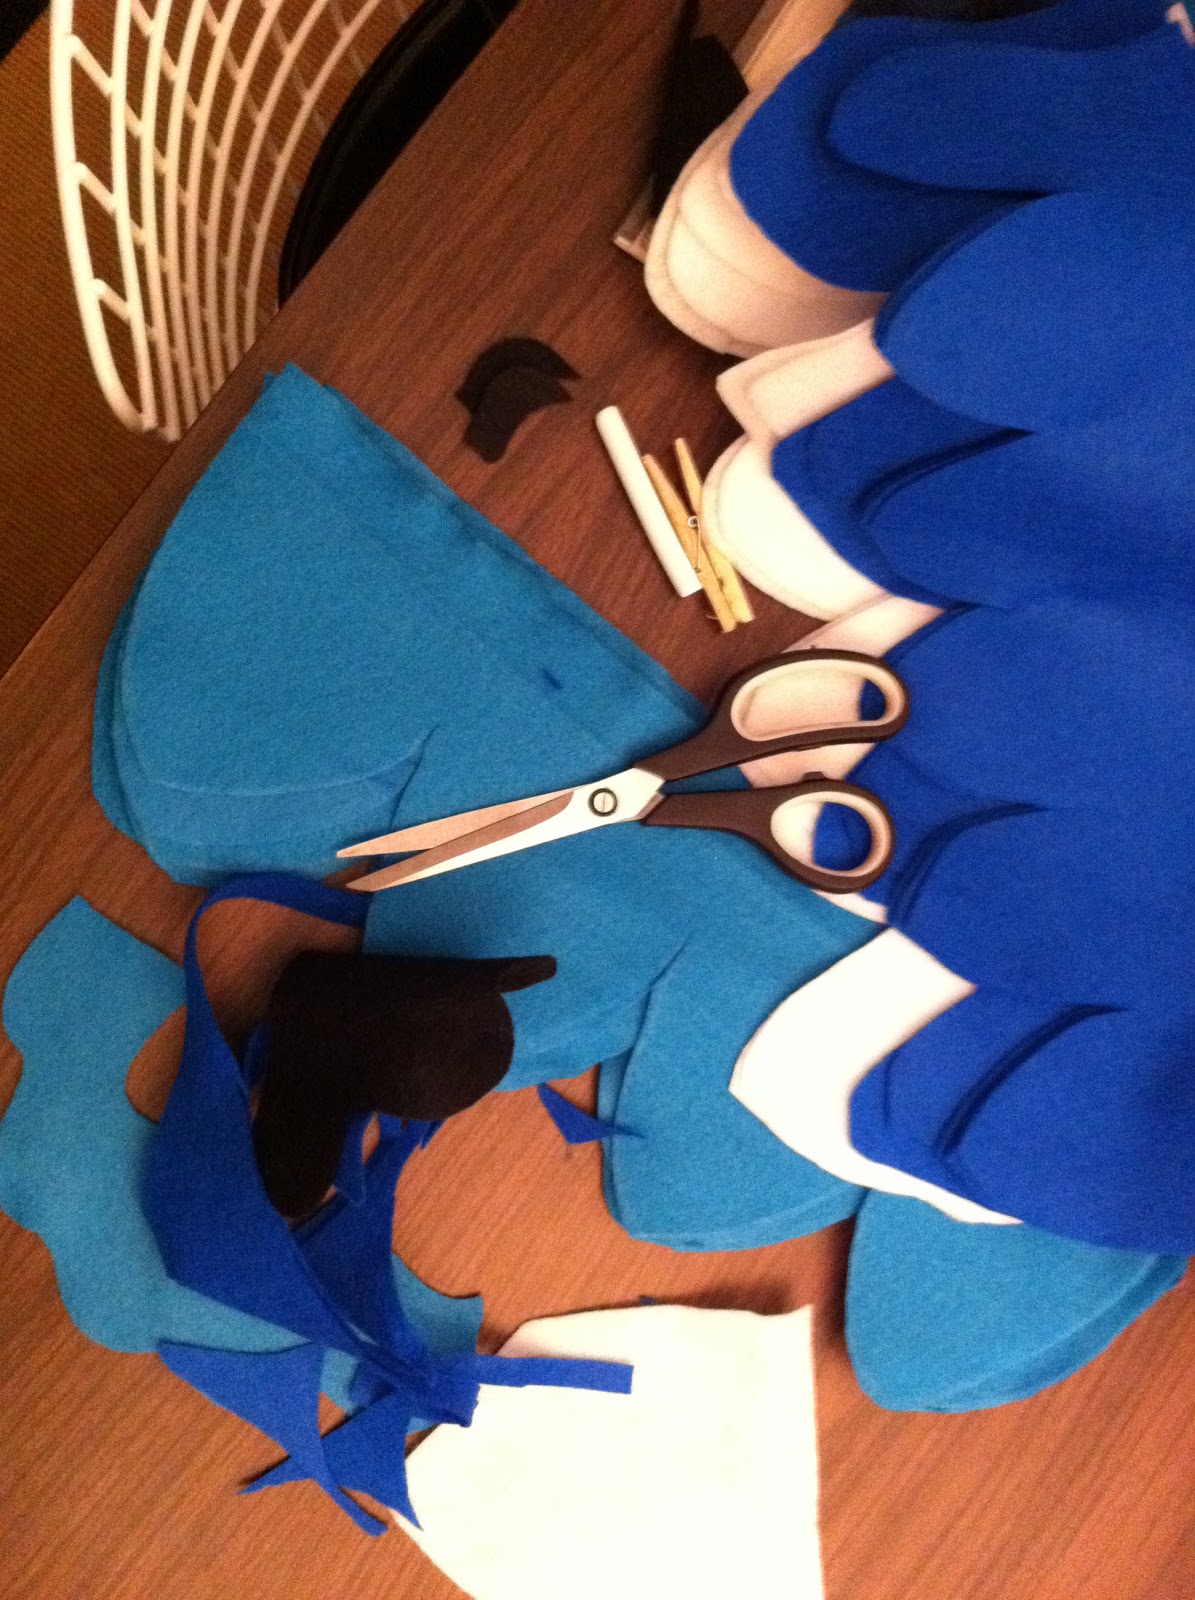
Next came the tail and this turned out to be my favorite part. I wasn't initially going to make a tail, but I had tons of leftover felt pieces and thought, what the heck? There honestly was no method to this madness. I just cut out a base that sort of looked like a giant blue hand, then cut out multiple "fingers" to layer on top of each other. You can do this or come up with your own version.
I glued the scraps together wherever I thought they fit, again using all those leftover pieces:
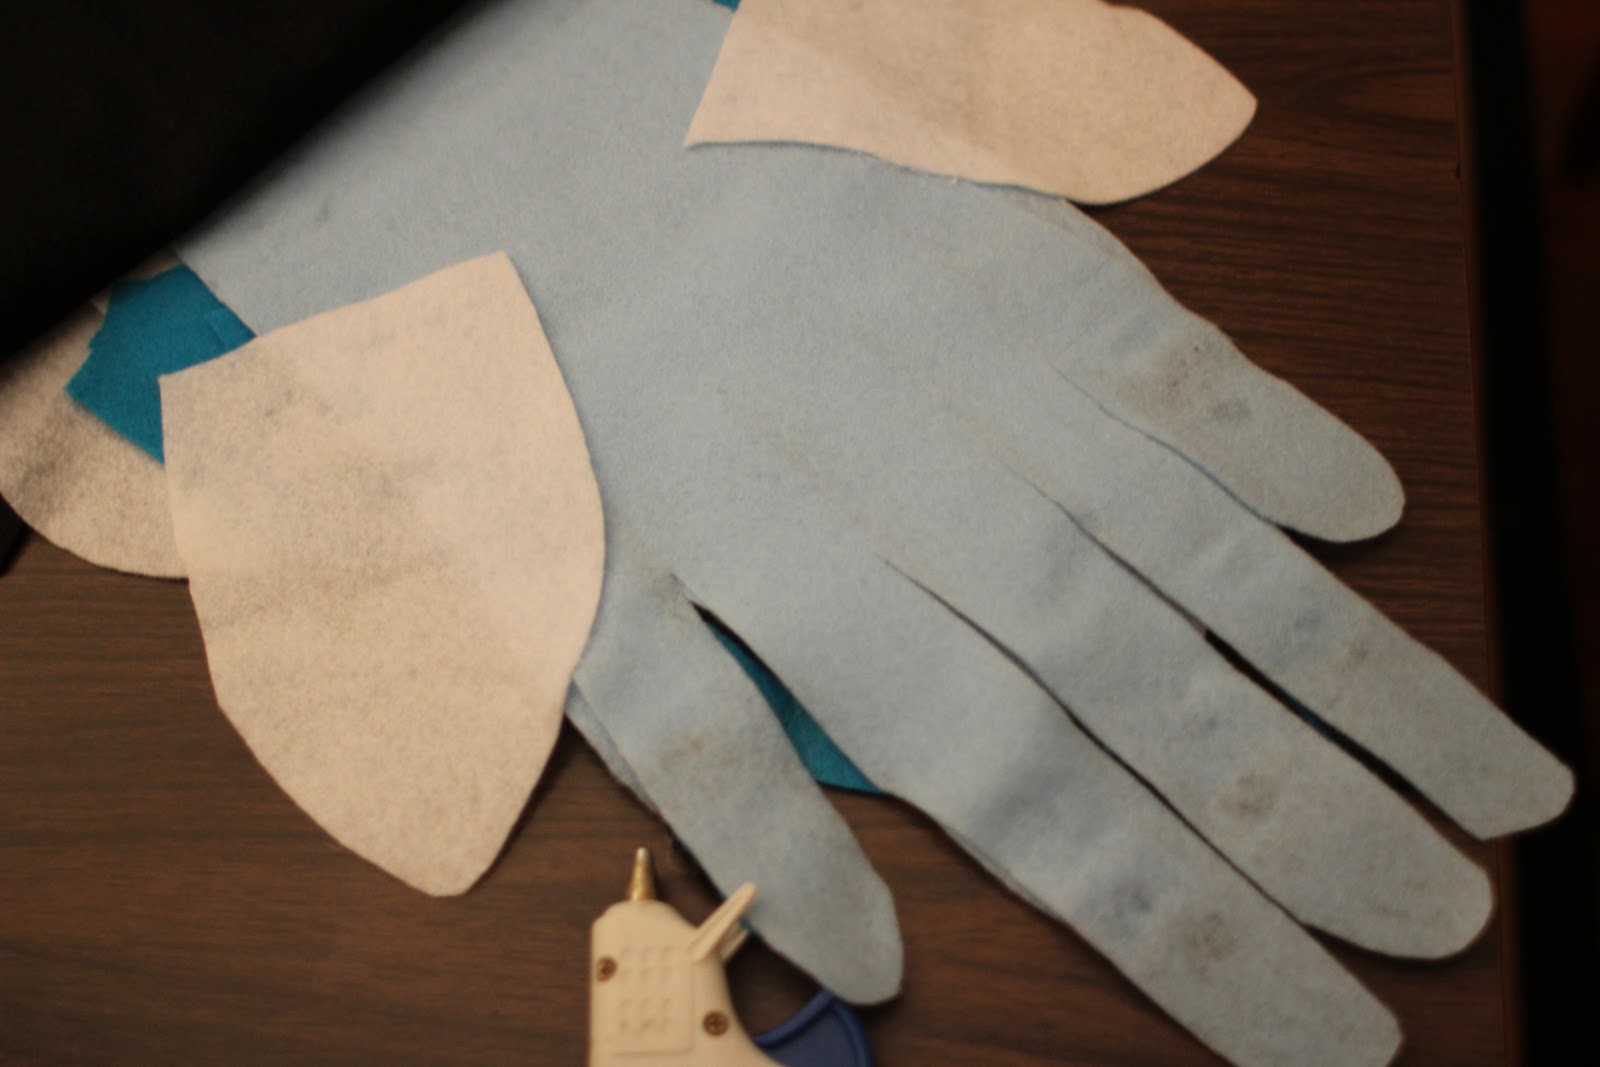

Finally, when you have what sort of resembles a tail all glued together, lay a big piece of black felt over the back of it, then glue it into place:

Cut it out wide enough at the top to wrap around your child's waist:

Voila!
To secure it to her, I hot glued a long black ribbon to the top of the tail and just tied it around her waist like a belt.
I did the same thing to the wings. In the middle of each wing, I glued the center of a long piece of ribbon to the center of the wing back. I used the hanging ribbon to tie the wing to each arm and wrist.
Sorry - I didn't get a picture of this!
Next, I painted the mask using some acrylic paint I picked up at Hobby Lobby for $4. This is where you can get creative and paint it however you like. Add some eyebrows then glue some feathers here and there:

Lastly, layer two big pieces of black felt together and cut out 2 shapes that sort of look like feet. If you layer two pieces of felt on top of one another, you'll have 2 identical pieces to make each foot, thus having 4 total.

Once you've cut out both feet, use your glue gun to outline the entire perimeter of one of your feet patterns. Glue that foot to it's matching piece by lining them up and pressing firmly for 30 seconds to make a seam.
Be sure you've made them extra wide so a small foot, in a pair of shoes, can fit inside.
Repeat for the other foot pattern.
Once the glue dries, flip the feet inside out and you're done!

After your child goes to sleep, try everything on and wish that you had also made yourself a costume this fun.

And that's it. For about $30 and roughly 3-4 hours of assembly, you have a feathery blue jay friend.

Trick or treat as necessary.
This is fantastic! I plan to make a firebird with your tutorial, thank you!
ReplyDeletethis is awesome. thanks for sharing. my little boy wants to be a blue jay for halloween and this is great.
ReplyDelete