Friday, October 29, 2010

Spooktacular

The Pumpkins are carved!


Around here, we just can't get enough of Halloween!  We've been slacking on the blog the last few weeks, still have lots of great projects to update everyone on, but for now, a little break in the action to celebrate our favorite time of year.

We carved our Girl's Team and Boy pumpkins last night and Alex submitted the design, but was less interested in the actual carving, and more interested in making "witch stew" with all the goo.  Either way, they turned out pretty cool and you can't tell from the pic, but the one on the right has a saw through its head.  :)


The fall in this part of town is incredible!  There are so many awesome trees and the leaves are falling all over the place.  With Alex's Halloween party on Sunday, followed by trick or treating, and the still-warmish weather, we can't wait to hit the streets and celebrate our very first Halloween here!

Here's wishing everyone a spooktacular weekend!

Sunday, October 24, 2010

We Don't Wanna Brag....

....but this panda bear just won "Cutest Costume" at her school Halloween party!


And we can't help but agree. :)

Thursday, October 7, 2010

Cheers!!!

“Beer is proof that God loves us, and wants us to be happy.”  
          -Benjamin Franklin

Wise words from a wise man.  There is an ever wiser wo(man) however, my fiancée Kelly.  When we watched a “Renovation Realities” one evening where a young couple, such as ourselves,  installed a beer tap in their kitchen she said to me “we should do that!”  I stared deep into her eyes for a moment, kissed her passionately, then let her fall to the floor like John Belushi dropped Carrie Fisher in The Blues Brothers and started sketching up the blueprints for this…

BAM!!!
We’ve known for a long while there was an old chimney hiding behind some drywall in our kitchen, we just never knew what to do with it.  When Kelly had the beer tap-iphany, we knew the chimney’s destiny at once. 

BEGONE DRYWALL!!!
  (I wanted to start small and maybe have the chimney only PARTLY-exposed.  My "irregular" cutout with the router just wasn't right though.  In the end Kelly was right...it was all or nothing!)


Just as the brick smokestack of Boulevard Brewing Company has for years been a symbol of local brewing at its finest, so our little chimney would as well.  Cheers to you brick masons of 1912!


In a matter of days I found a fridge, CO2 tank, keg coupler, and beer faucet (yes...this is really what they’re called) on the cheap…where else, but on Craigslist.  I picked it up and somehow conned a friend into helping me hoist it down the stairs.  Cheers to you Travis M! 
(Andre pictured admiring my test-pouring setup downstairs...sorry we didn't get any muscle shots Travis)

(the gear...brand new CO2 tank and regulator...thanks again Craigslist!)

After one stop at Habitat Restore and another at our local Grainger, I picked up enough PVC fittings and a small, electric blower to put together a cold air-chilled beer line from our basement to the tap upstairs.
(you can see the back of the fridge in the bottom left)

(thank you Dad for handing down the fabrication skills!)

After one more stop at BedBath&Beyond (shudder) I found the perfectly sized tap tower mounting surface in the form of an upside-down, broken apart bamboo silverware tray.  Cheers to you for the idea Baby!


And finally cheers to you HGTV for coming up with Renovation Realities in the first place!  J

Bottoms up!

Thursday, September 23, 2010

Getting Crafty: The Reveal

Back in this post, we started talking about our copycat CB2 light fixture we were attempting to recreate.  Well, it's been up for a few weeks, so we thought we should do a quick reveal.

Since we weren't quite ready for a full-on electrical extravaganza, this was a great option for this area because we only need to add tea light candles, and it gives off a pretty amazing glow at night.  It's definitely not something you can turn on everyday, but when the mood is right, we think it looks pretty cool.

Plus we scored some battery operated LED candles at the dollar store, so all in all this was big fun with a little price tag. 

A bright idea you might say.

Here is the one from their blog/catalogue:


And here is ours, a little longer vs. wide, but we may add a few more down the road...


Saturday, September 18, 2010

Half-Bath Bliss - Our dreams come to fruition!!!

Finally!!!  Our half-bath project that seemed to last all summer is complete!!!  (ok...it was complete about a month ago but I'm just now getting around to posting the reveal)  :-)

Rather than bore you with all the gory details up-front like always (I'm talking about MY blog posts of course, Kelly's are always witty and entertaining up-front!), I decided to hit you with the finished product right off the bat!

Voilà!!!

(and yes...that's a tarantula in our wheat grass for all you Halloween fans out there!!)

Now...here is how we got there...

After all the drywall was done and the walls were painted a fresh and clean "Extra White," I put down some flooring and framed up a "vanity-ish" thing for our future sink...remember that terrible angle-y wall thingy I had to contend with?  No big whoop.


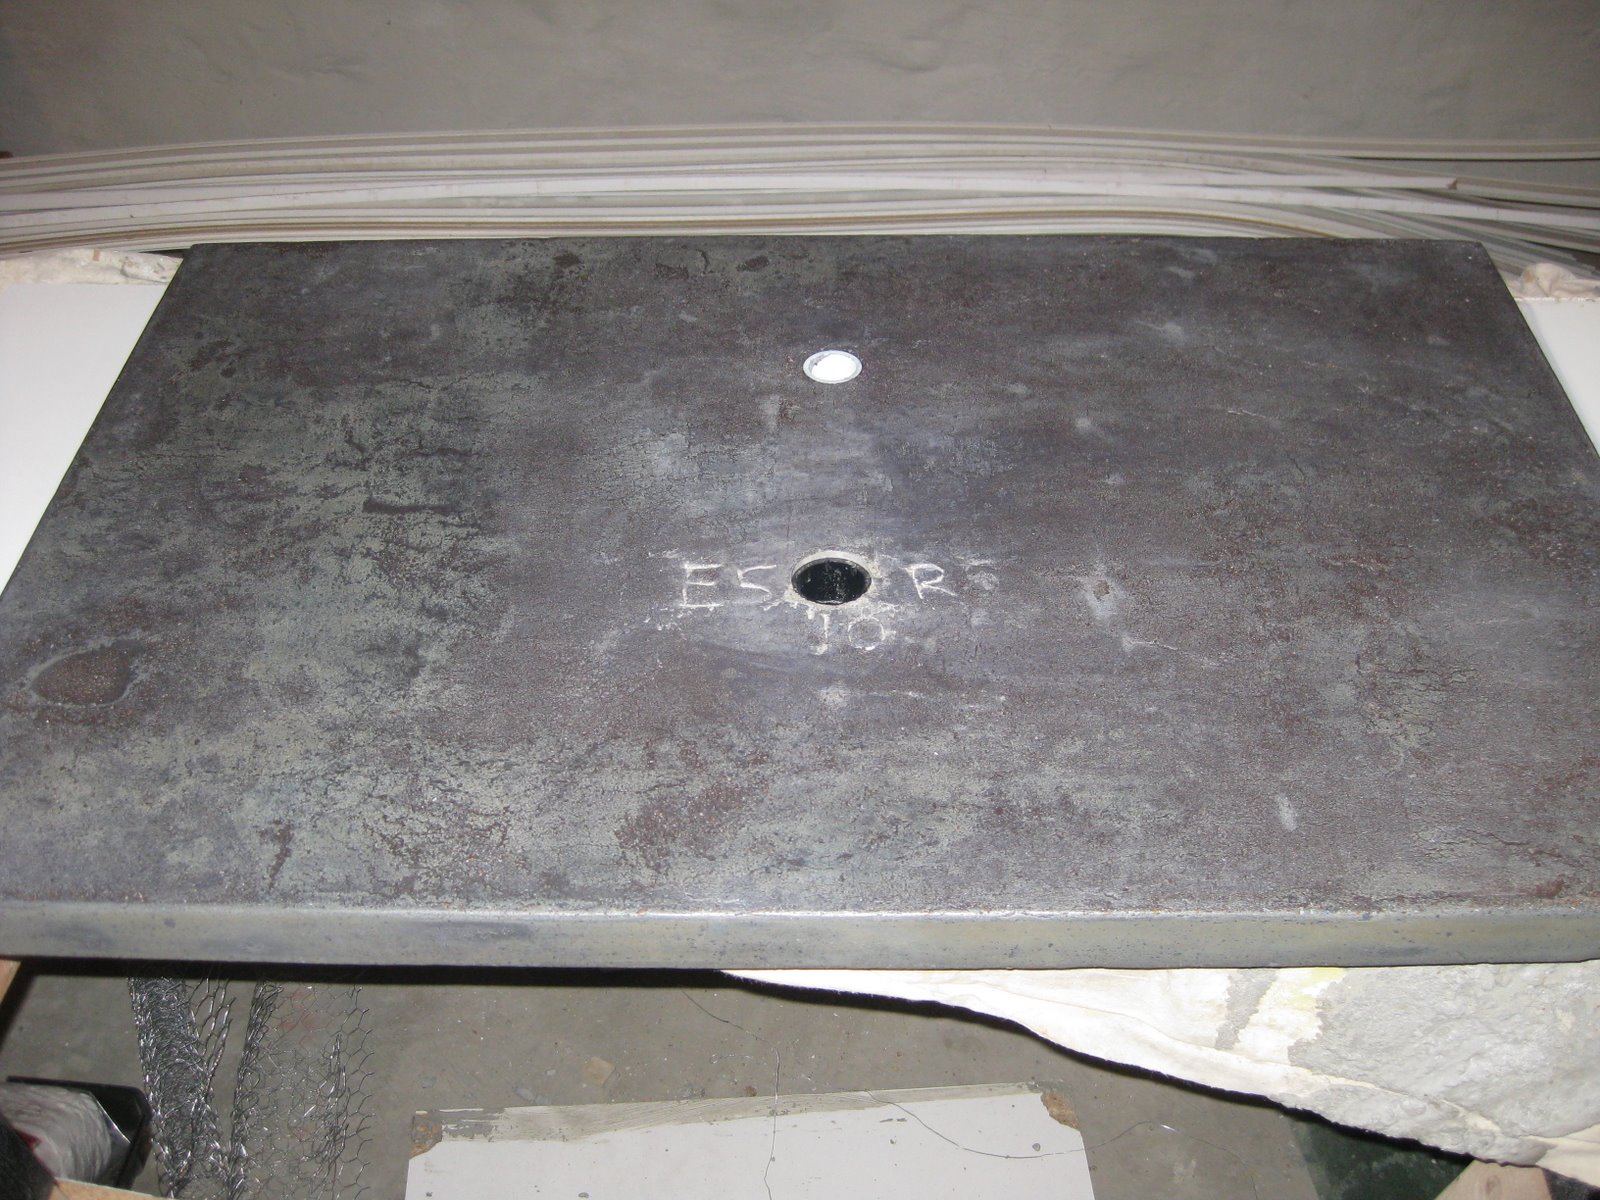
Then with the help of a returning Two Six E project champion...my old man...I framed up, poured, troweled, sanded, sanded some more, stained, and finished a concrete countertop...in our basement.   The black and white holes you see will come into play later...they're supposed to be there.  ;)

I'm very proud of this thing...including all the natural variations in the finished concrete!  This was a NEW kind of project never before attempted by me or my old man!  It was a task deserving of an entirely separate blog post that is forthcoming.  THANKS MY OLD MAN!!!

Then with the help of a NEW Two Six E project champion...our friend Erik W. (in the foreground...the one struggling less than the other), we carried the now 150 lb. countertop UP the stairs and dropped it into place with only MINIMAL wall scuffing!  :)  (the scuffing was my doing)  THANKS ERIK!!!

(sample backsplash tile at back of countertop)

Then I wired up a new IKEA light fixture...(I was the only project champion on this step)...


Then with the help of yet ANOTHER returning Two Six E project champion, our good friend Chip C., we added the mosaic tile backsplash (natural slate + glass tile mix)...  THANKS CHIP!!!

Then I finished building the shelves and shelf fronts for the "vanity"...

...there's more rocket science involved here than it looks like folks!!!  Measure 4 times...cut 2 or 3 times...get new piece of wood and cut again I always say!

Then finished the door casing and base trim.  Notice we tried to replicate the traditional style found throughout the rest of the house, replacing the more modern, boring, cheap-o door casing that was in place previously...

Then I set another Glacier Bay dual-flush toilet from Home Depot like the one we used upstairs...GO ENVIRONMENT!!!  

...set the sink (a Kraus vessel from csnstores.com), hooked up the faucet (a Glacier Bay from HD), connected the drain...

...and let Kelly start making it pretty!  :)  These are watertight, porcelain vases from CB2.  Perfect for orchids!


And what would a bathroom be if not a place for reading some fine poetry by Alex...???  A tribute to our feathered friend we found during the first phase of demolition.

________________________________________________
For one final look (if you have a strong stomach)...the BEFORE...

...and AFTER!!!


Here's to happy flushing...and washing of course!!!  
-EJ

HAPPY BIRTHDAY MOMD!!!


Happy Birthday to our beloved Evie!  We love you so much!!!! There couldn't be a sweeter, more charming, more handsome, more handy, more loving or more incredibly deserving guy to wish a very Happy Birthday to!  

And there couldn't be two luckier girls than us, to celebrate with you, and call you ours. :)

We had an early celebration for Ev Thursday night, complete with homemade cards of spotted rabbits, pop-up trees and red carrots....


...lots of hugs & kisses from the ladies! 


 ...and a delicious feast of Mexican food from our favorite neighborhood restaurant, Jalapenos, followed by decadent gourmet cupcakes!  


That's a chocolate cream cupcake with whipped frosting and candied bacon.  Yes, bacon.  :)


Happy Birthday to the Man of My Dreams. 
May it be equally as sweet as you are.

xoxo

Wednesday, September 15, 2010

Brown BEGONE! Bring on the “Golden Fleece”!

Sorry we've been quiet for a while...busy time of the year for all of us!  A few weeks back, we decided we wanted to paint our front door BLACK!  But we couldn’t do this until we put on a new storm door.  We couldn’t do this until we painted over the terrible brown exterior trim around said door.  And if we were going to lose the brown around the door trim…we might as well get rid of the brown on the porch columns!  So BASICALLY…what started as painting the front door turned into 3 evenings of nightfall painting fun.  J

Picked up the new black storm door at Lowe’s the last day that they were 15% off…KA-CHING!!  Used a “standard” 81” storm door as opposed to the 83” “custom” one I replaced.  This meant about half the cost of a custom storm door, but also that I needed to frame down the top of the door/sidelight openings.


On the plus side…this means that we’ll also be able to replace the entry door with a “standard” (cheap) 80” door down the road…double KA-CHING!!  Or who knows...maybe we'll find an all-wood vintage 83" at our local Habitat Restore one of these days!!

Always be sure to prime (exterior KILZ)…in the dark…after 11PM...while hanging upside-down off the porch roof!


Porch BEFORE primer 
(OK...technically on the day we took possession but you get the idea):

And AFTER primer:

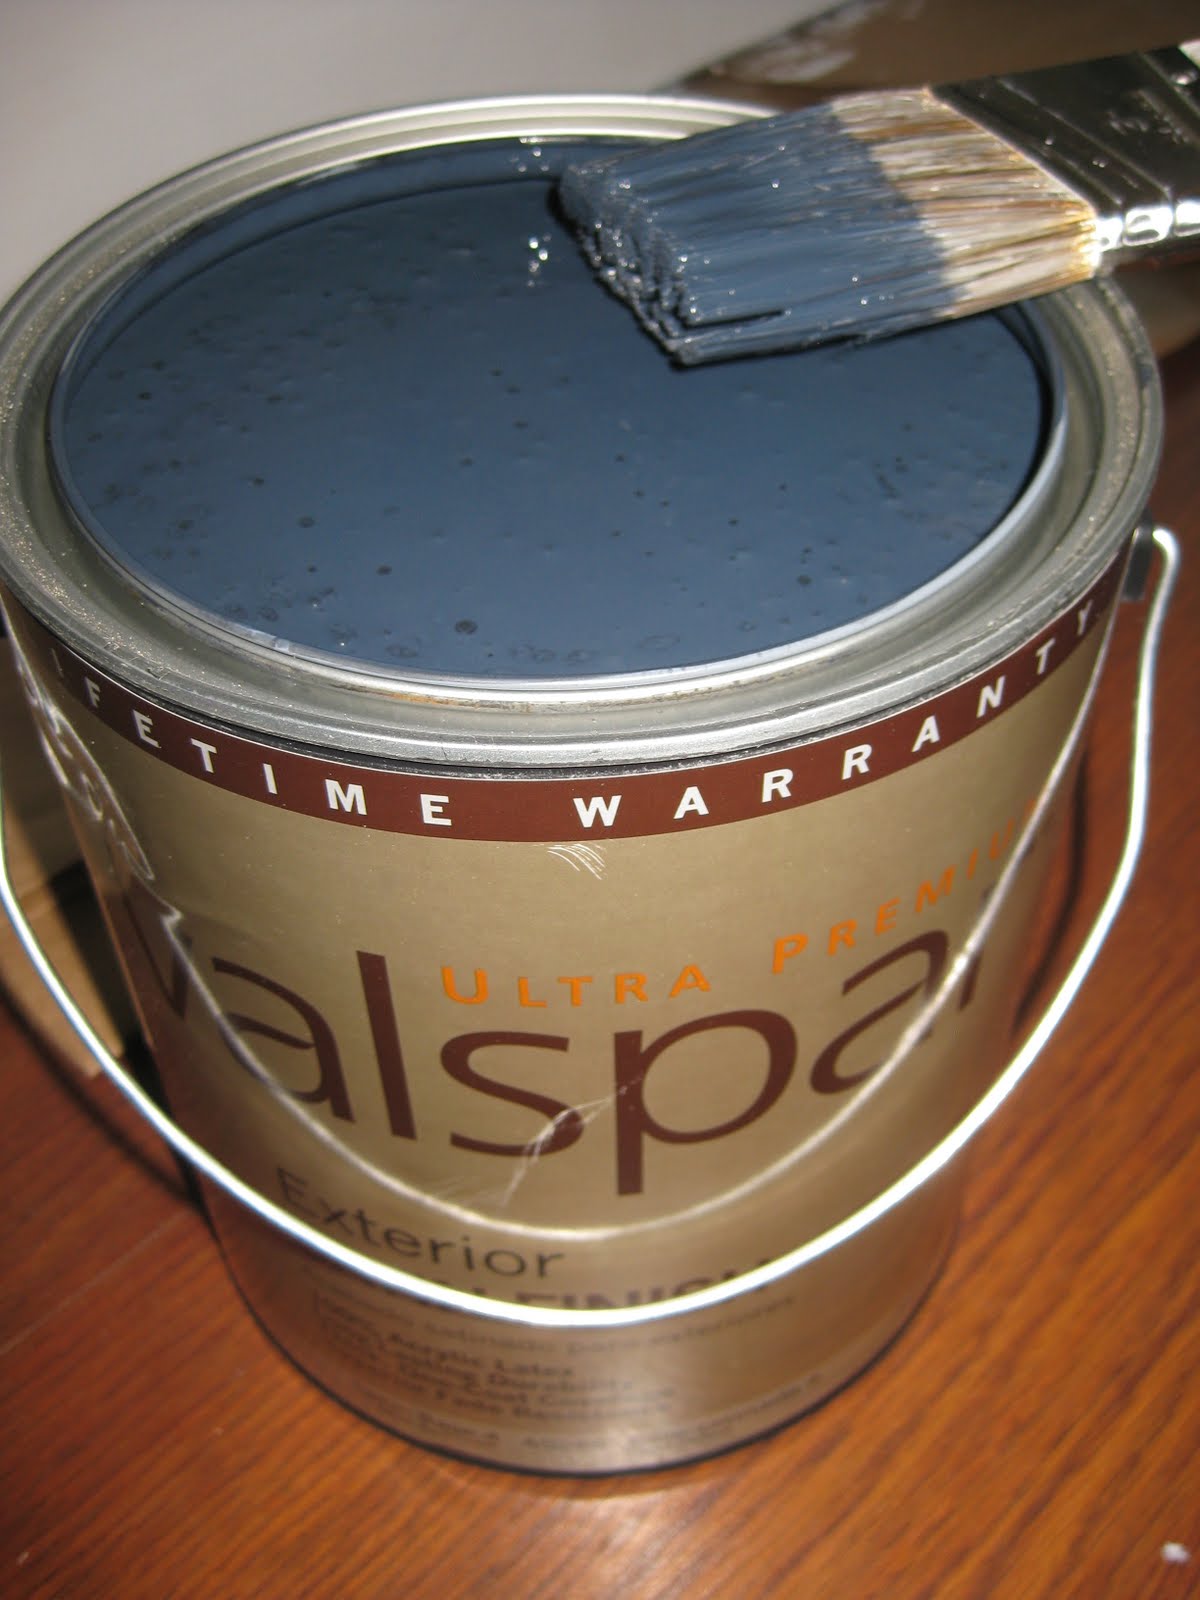
Then after the new full-view storm door went on (see in final pic below), it was finally time to paint the front door!  I still wouldn't call it BLACK...but "Dark Kettle" is as dark as Valspar gets.  


Steps to paint a front door:
1.  Sand  
2.  Prime
3.  Paint
4.  DO HAPPY DANCE!!!

Every house in our neighborhood blessed with these square, wooden porch columns with the square corner trim is painted with the trim color on the corners, and the body color in the middle…so in an effort to blend in historically, we followed suit.  In went the “Golden Fleece” yellow paint…God love it.  Thanks for leaving 2 gallons downstairs guy we bought the house from!  J


So…what do you think?! :-)
Related Posts Plugin for WordPress, Blogger...